
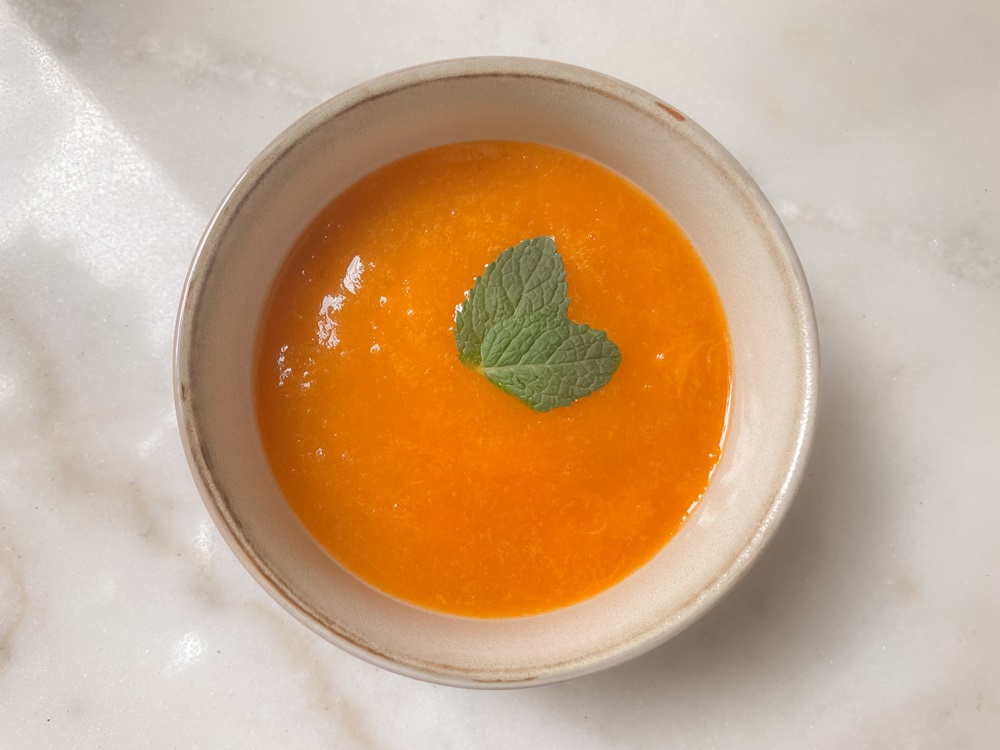
Homemade Apricot Jam
There’s something magical about capturing the essence of summer in a jar, and this homemade apricot jam does just that. With its vibrant colour, luscious texture, and sweet-tart flavour, this jam is a delightful way to preserve the best of the apricot season. Perfect for spreading on toast, pairing with cheese, or using as a filling for pastries, this jam will bring a burst of sunshine to your table all year round.
Why Homemade Apricot Jam?
Making jam at home is not only a rewarding experience but also allows you to control the quality of the ingredients. This recipe uses fresh apricots, a touch of sugar, and a splash of lemon juice to create a jam that’s both simple and pure. Unlike store-bought versions, this homemade jam is free from preservatives and artificial flavours, letting the natural taste of apricots shine through.
INGREDIENTS
500 g of fresh apricots, washed, pitted, and halved
1 cup of white sugar
1 tablespoon of lemon juice
METHOD
1. Prepare the Apricots:
Begin by washing, pitting, and halving your fresh apricots. The fresher and riper the apricots, the better the flavour of your jam.
2. Cook the Mixture:
In a large pot, mix the apricots and lemon juice over medium heat. The lemon juice not only adds a slight tang but also helps preserve the colour of the jam. Gradually add the sugar while stirring constantly. Slowly bring the mixture to a boil, ensuring that the sugar fully dissolves into the fruit.
3. Simmer and Thicken:
Once boiling, reduce the heat and allow the apricot mixture to simmer. Continue stirring occasionally to prevent sticking. Over the next 25 minutes, you’ll notice the mixture thickening as it cooks down. This process is key to achieving the perfect jam consistency.
4. Skim the Foam:
As your jam cooks, a light foam may form on the surface. Skim this off with a spoon to keep the jam clear and smooth. Once the jam has reached the desired thickness, remove the pot from the heat.
5. Prepare the Jars:
While your jam is cooking, prepare your jars and lids by sterilizing them in a boiling water bath. This step is crucial for preserving the jam safely. Leave the lids in simmering water until you’re ready to use them.
6. Fill and Seal the Jars:
Carefully ladle the hot jam into the sterilized jars, leaving about 1/4 inch of space at the top. Run a knife or thin spatula around the inside of the jars to remove any air bubbles, which helps prevent spoilage. Wipe the rims of the jars with a moist paper towel to ensure a clean seal, then top with the lids and screw them on tightly.
7. Final Steps:
For added security, turn the jars upside down and cover them with a towel for 12-24 hours. This process helps create a strong vacuum seal. Afterward, turn the jars right-side up and store them in a cool, dark pantry.
Enjoying Your Apricot Jam
Homemade apricot jam is incredibly versatile. Spread it on your morning toast, swirl it into yogurt, or use it as a filling for cookies and cakes. The sweet, slightly tangy flavour pairs beautifully with a variety of dishes, making it a pantry staple you’ll reach for again and again.
Final Thoughts
There’s nothing quite like the satisfaction of making your own jam. With this apricot jam recipe, you’ll be able to enjoy the bright, sunny taste of apricots long after the season has passed. Whether you’re a seasoned jam-maker or a beginner, this recipe is easy to follow and yields delicious results. So grab some fresh apricots, and start jamming!